Backup and Restore a Library#
You can backup and restore a content library in Studio.
Backup A Library To Local Archive#
There are several reasons why you might want to backup your library.
To save your work in progress
To edit the XML in your library directly
To create a backup copy of your library
To share with another course team member
When you backup your library, Studio creates a .zip file for export. This export file contains the problems in the library, including any customizations you made in the library to problem settings. The export does not include library settings such as user access permissions.
To backport a library, follow these steps.
In Studio, select the Libraries tab.
Locate the library that you want to backup.
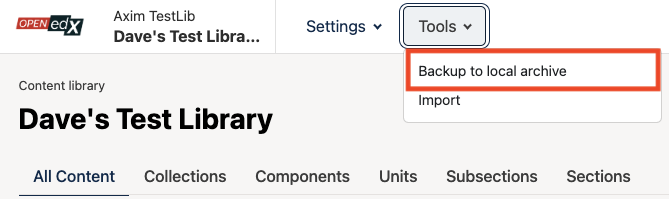
From the Tools menu, select Backup to local archive.
Select Download Library Backup next to your library’s name to dowload the archive.
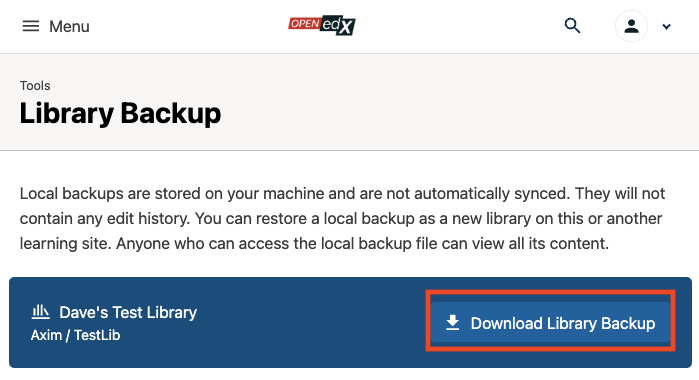
When the export process finishes, you can access the .zip file on your
computer.
Create a Library From An Archive#
Note
For the Ulmo release, Create Library From Archive is only supported as a way to initialize a new library.
The library file that you import must be a .zip file that contains a
package.toml file.
To create a library from an archive, follow these steps.
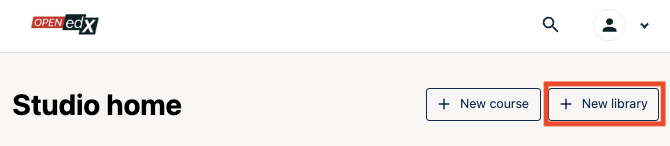
In Studio, select the + New library button in the top right.
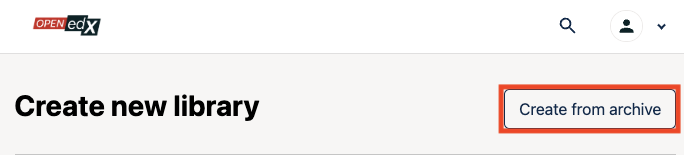
Select Create from archive button in the top right.
Drag and drop the file, or click to upload, your
.zipfile.After your file is uploaded, you’ll see information about the imported library at the top of the screen:
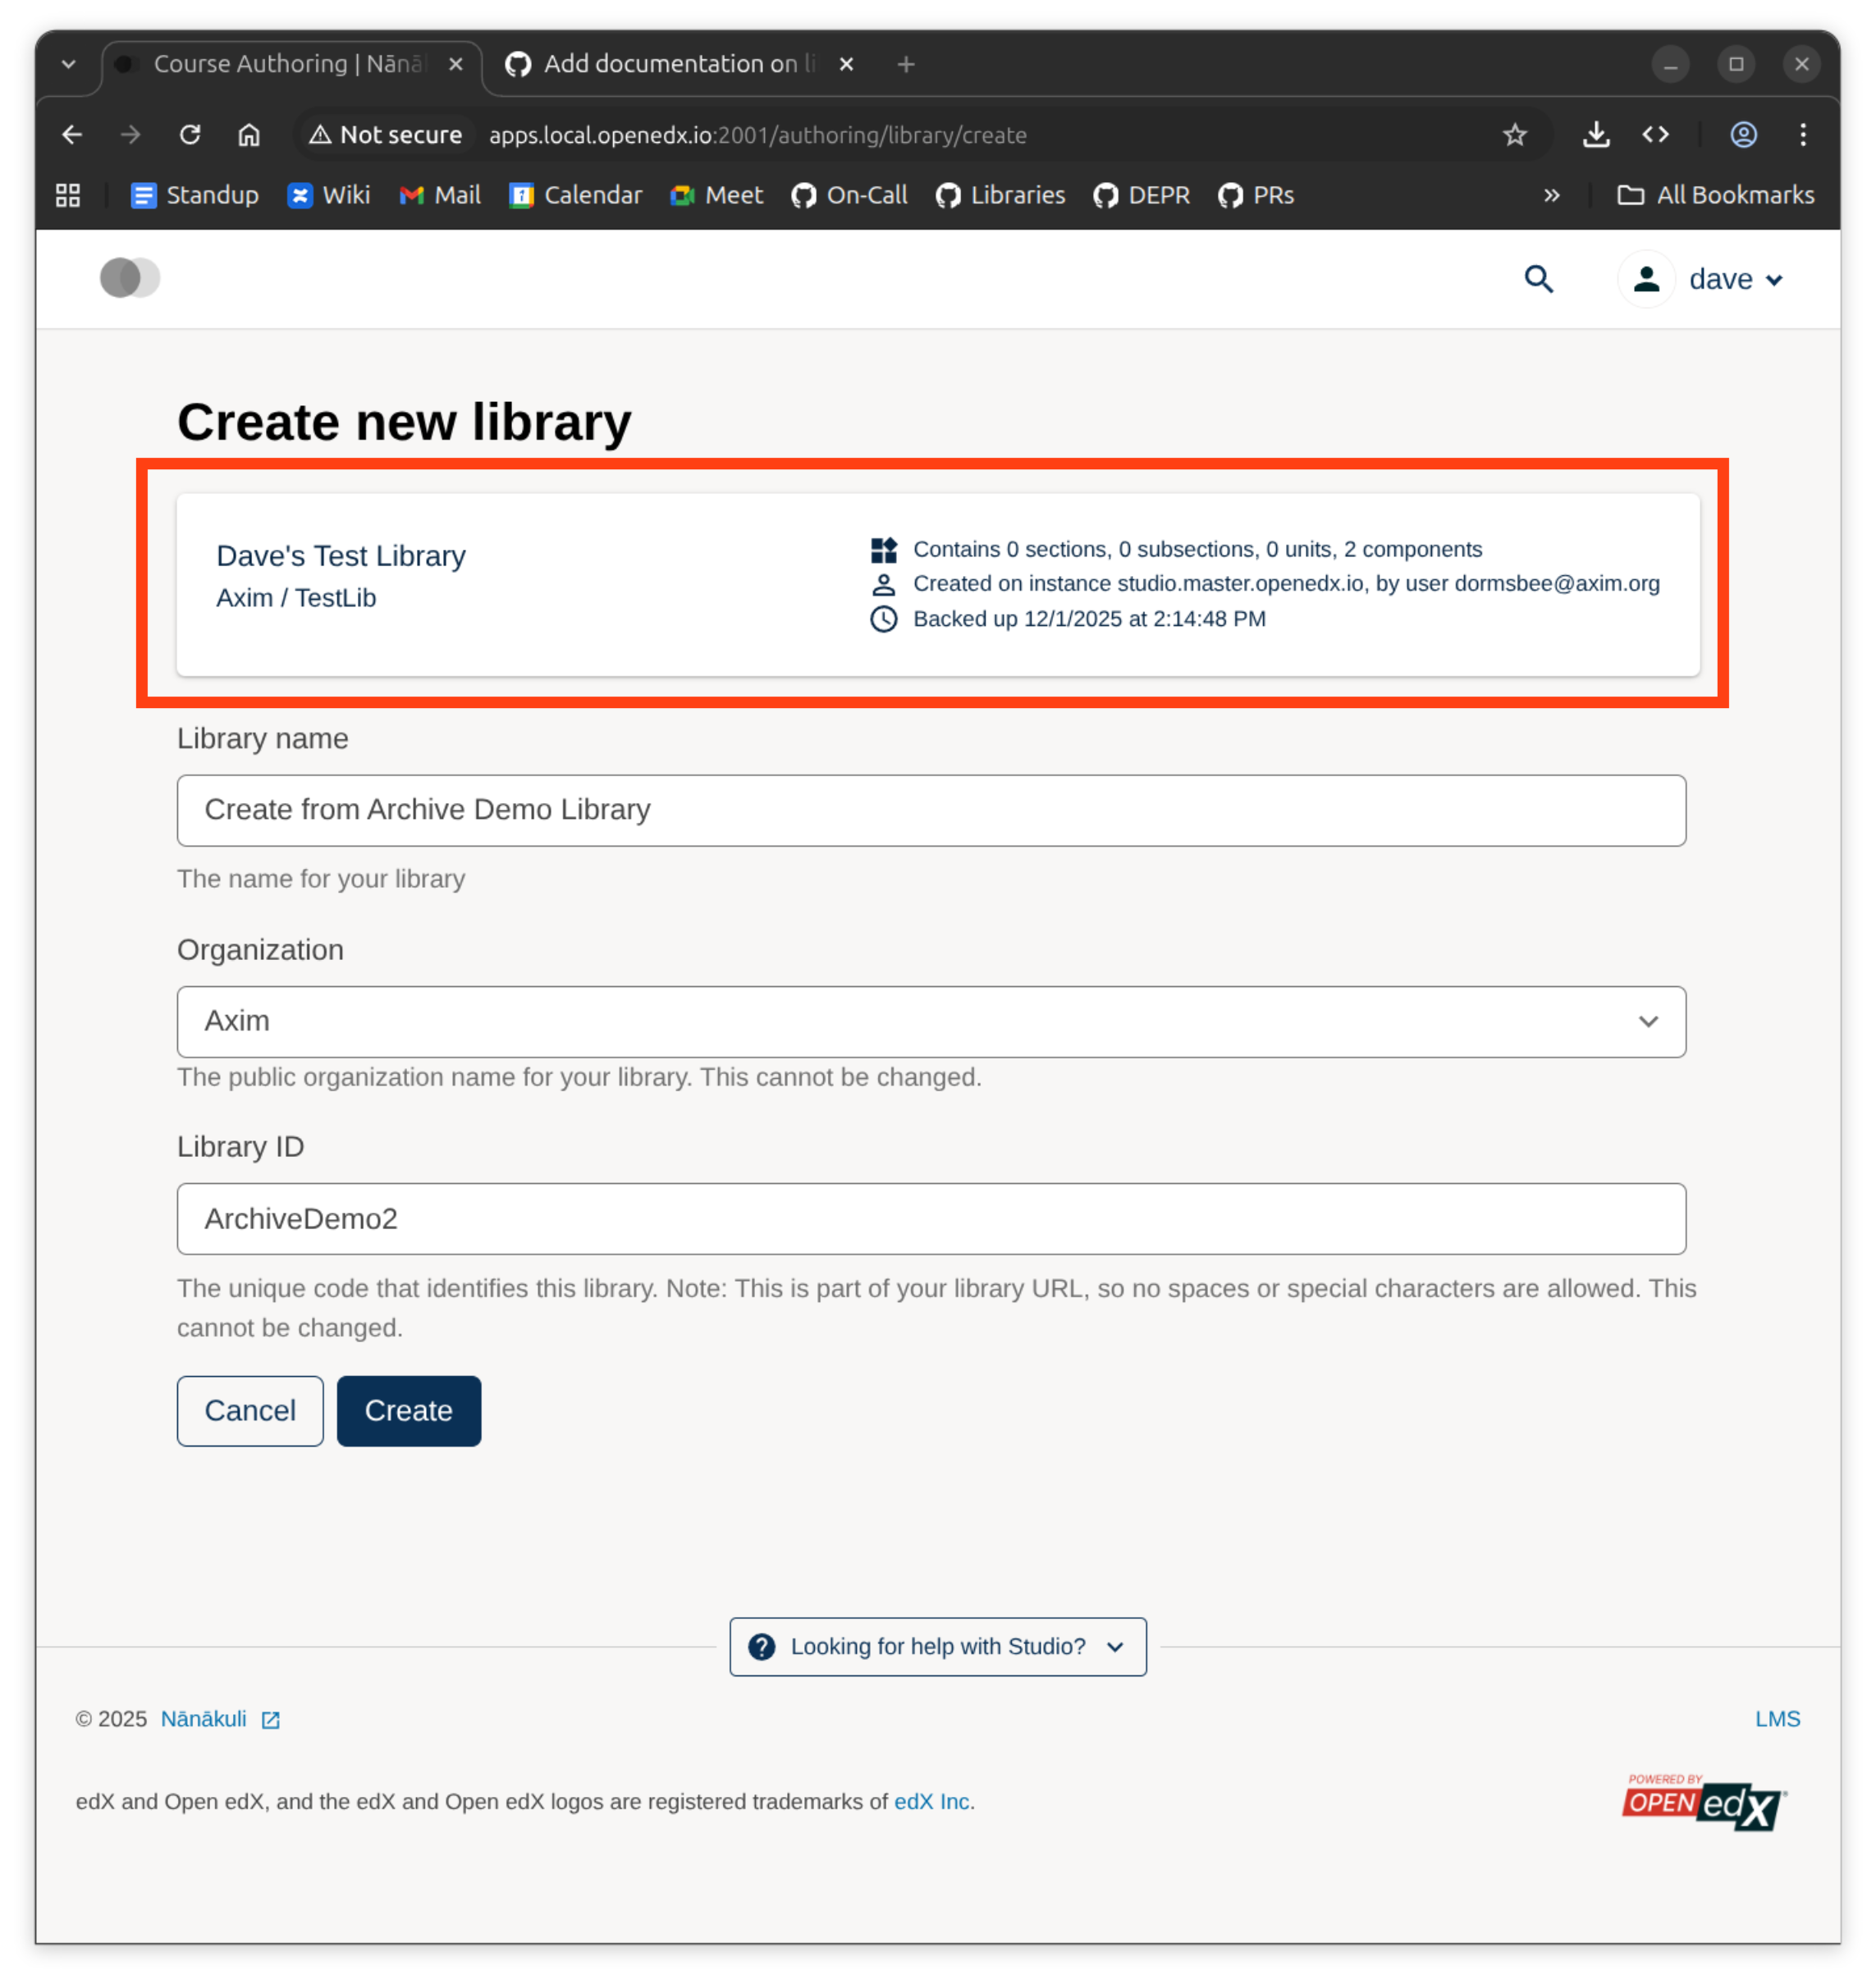
Enter in the name, organization, and Library ID for the library.
When the import process finishes, you’ll be taken to your new library.
See also
Create and edit content in a Library
Create and edit units in a Library
Build a Collection in a Library
Migrate Legacy Libraries to the New Library Environment
Add and Delete tags in Library content
Maintenance chart
Review Date |
Working Group Reviewer |
Release |
Test situation |
2025-12-01 |
Sarina |
Ulmo |
Pass |